s
Hey there!
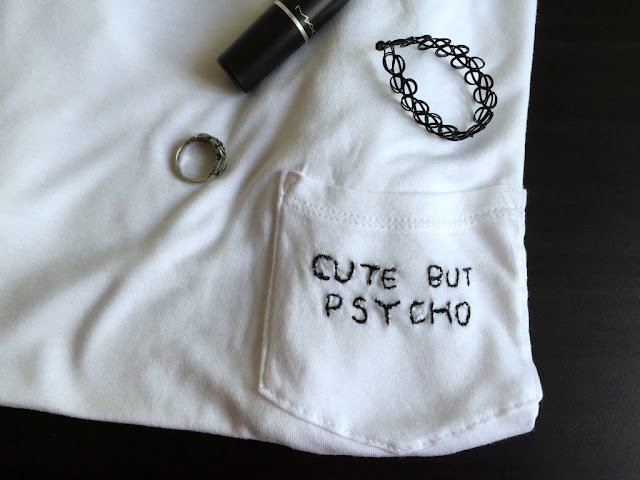
I'm back with another DIY. I gained inspiration for this tee through my many hours on Tumblr (of course) and thought it would be a fun DIY to write a post on. The whole process is relatively easy to do, but the embroidery may take you longer to finish. Anyways, let's get to it!
You will need:
- a white pocket tee
- black thread
- sewing needle
- chalk marker
1. Write the words onto the pocket using a chalk marker. Personally I had to use a fineliner because the chalk marker wasn't showing up on the material. It washed away easily in the wash afterwards.
2. Using your needle and thread, go through the words using a straight stitch. Go back and forth over the letters until you have your desired thickness. I went through the letters three times: from one end to another, back, then again to the other end.
s
The steps for this DIY are so easy, but getting everything right can be hard. I personally struggled with getting the shapes of the letters right, and trying to get the thickness to be even. But eh, I'm pretty satisfied with the outcome!
I am so sorry for missing out on a post last week, and I know, I was supposed to do my May Favourites. For the past month I've been busy with mock prep, so nothing interesting really went on. But alas, I have a plan! I will combine my May and April Favourites into one video, which will come out next month. Also there is a possibility I will be going on holiday next month, so there may be a few vlogs up on my channel. I had this DIY stored in my drafts folder anyway, so I think everything turned out alright!
Hope you have a lovely day! x


